How to Connect WordPress to Supabase
How to Connect WordPress to Supabase
If you’re building modern web applications, you already know that WordPress is a powerful CMS, but it wasn’t originally designed to handle real-time data, scalable backends, or secure authentication. That’s where Supabase comes in—a modern, open-source alternative to Firebase that brings Postgres, real-time updates, and authentication to your projects.
In this guide, we’ll walk you through how to connect Supabase to WordPress using a seamless WordPress Supabase integration plugin. Whether you want to build dashboards, membership platforms, or sync your application data directly into WordPress, this step-by-step tutorial will help you get started.
Why Connect Supabase to WordPress?
By default, WordPress stores data in its MySQL database and works great for blogs, content sites, and basic eCommerce. But when you need real-time features, scalable databases, or external app connections, you’ll hit a wall.
That’s why developers are increasingly looking at WordPress Supabase integration. Here’s what you can achieve:
- Real-time data syncing: Any update in Supabase is instantly reflected on your WordPress site.
- Authentication & user management: Secure logins, registrations, and role-based access without extra coding.
- Scalable backends: Handle thousands of users and large datasets without slowing down WordPress.
- API-first development: Use Supabase APIs directly inside WordPress projects.
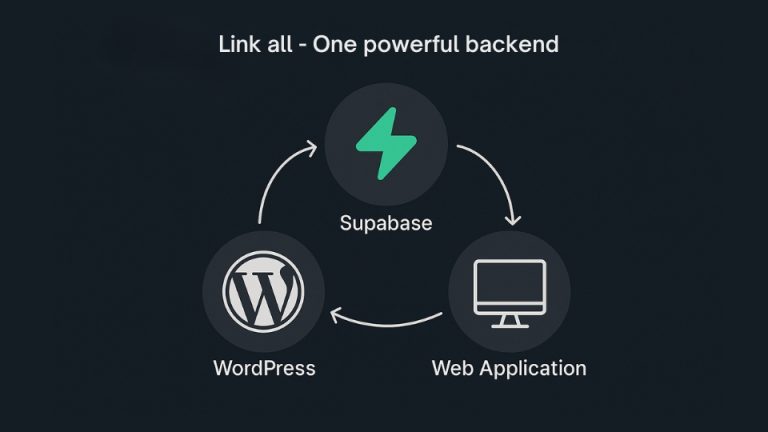
- Application connection: Sync your external web or mobile applications with WordPress through Supabase.
This combination makes it possible to turn WordPress from a simple CMS into a dynamic web application platform.
Step 1: Set Up Your Supabase Project
- Go to Supabase.com and create a free account.
- Create a new project and select a name, database password, and region.
- Once the project is live, Supabase will automatically generate your API keys and Postgres database.

Step 2: Install the WordPress Supabase Integration Plugin
- Log in to your WordPress admin dashboard.
- Navigate to **Plugins > Add New**.
- Search for the WordPress Supabase integration plugin (or upload your custom plugin if you have the file).
- Install and activate it.
Once active, the plugin will add a settings panel where you can enter your Supabase credentials.
Step 3: Connect WordPress to Supabase
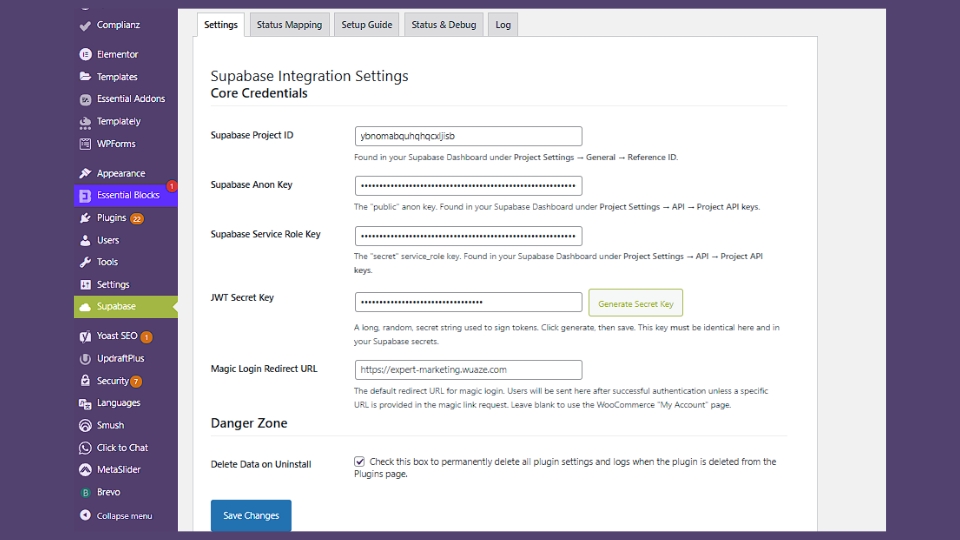
- Open the plugin settings in WordPress.
- Enter your Supabase URL and API Key (found in the Supabase project dashboard).
- Define which tables you want to use—for example, users, orders, or progress.
- Save your changes.
That’s it—you’ve successfully connected Supabase to WordPress.
Step 4: Display Supabase Data in WordPress
- Use shortcodes or blocks provided by the plugin to embed real-time data.
- Create dashboards for logged-in users that update instantly when Supabase data changes.
- Add forms that send data from WordPress back into your Supabase database.
This allows you to build anything from analytics dashboards to membership portals inside WordPress—without writing complex backend code.
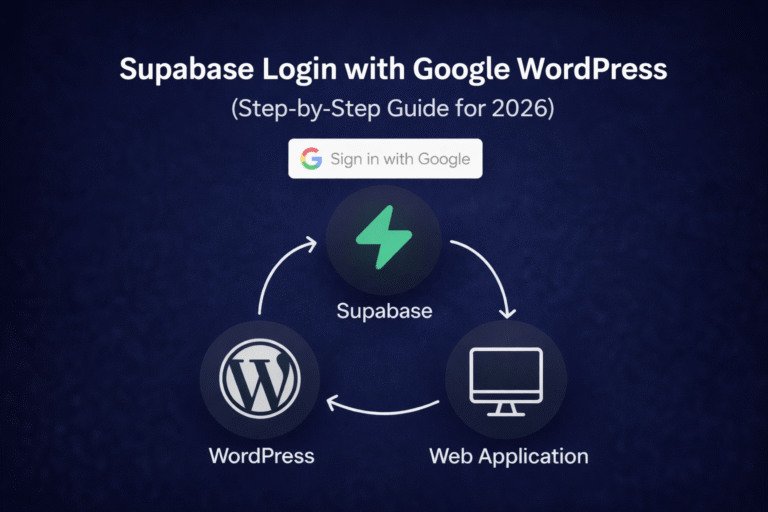
Step 5: Add Authentication (Optional but Powerful)
One of Supabase’s strongest features is authentication. The plugin allows you to enable secure login systems directly inside WordPress.
Features include:
- User registration and login linked to Supabase.
- Role-based access (e.g., admins, members, customers).
- Session handling with zero extra setup.
This turns your WordPress site into a true application hub where users log in and see their personal data updated in real time.
Step 6: Scale and Extend
Once you’ve set up the basics, you can take things further:
- Connect Stripe or other payment gateways to Supabase and manage subscriptions.
- Sync mobile applications with your Supabase backend, while WordPress acts as the central dashboard.
- Build low-code SaaS platforms with WordPress as the front-end and Supabase as the backend.
With this WordPress Supabase integration, you’re no longer limited by WordPress’s database—you now have a scalable backend powering your apps.
Final Thoughts
WordPress has always been known as a powerful CMS, but with the right integrations, it becomes so much more. By using a WordPress Supabase integration plugin, you can connect Supabase to WordPress in just a few minutes—and unlock a world of possibilities: real-time apps, dashboards, memberships, and full SaaS platforms.
If you’re ready to take WordPress beyond blogging and into the world of modern applications, Supabase is the missing piece of the puzzle.