How to Integrate Supabase with WordPress Using WP Supa Integration
How to Integrate Supabase with WordPress Using WP Supa Integration
Integrating Supabase with WordPress offers a modern, scalable way to enhance your WordPress site with powerful backend capabilities such as user authentication, centralized data, and real-time functionality. In this guide, we’ll walk through how you can set it up step by step using the WP Supa Integration plugin.
Why Integrate Supabase with WordPress?
1. Enhanced Authentication Management
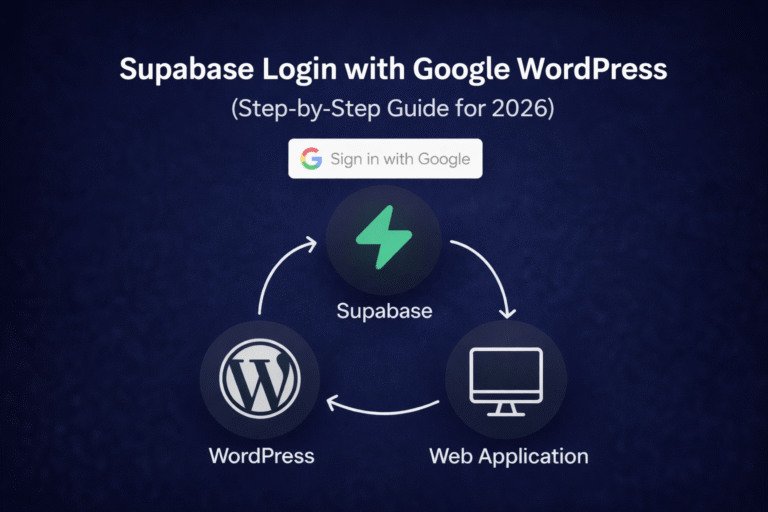
Supabase comes with a secure authentication system that supports email/password, OAuth providers (like Google and GitHub), and even magic links. By integrating it with WordPress, you can manage registrations and logins seamlessly while offloading authentication security to Supabase.
2. Centralized User Data
Syncing WordPress users with Supabase’s PostgreSQL database helps centralize data in one place. This is ideal for projects that need multi-platform access, mobile app integration, or advanced analytics.
3. Real-Time Capabilities
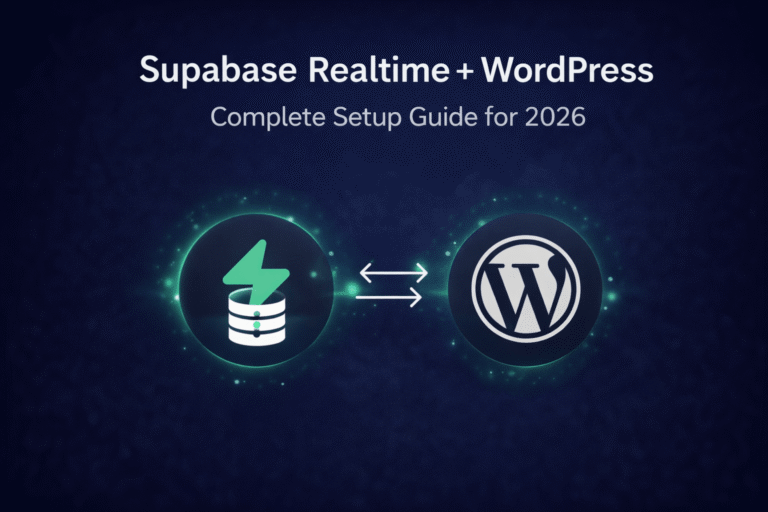
Supabase supports real-time database subscriptions, so changes happen instantly across your apps and WordPress site. This means you can build dashboards, live feeds, or interactive tools without relying on page refreshes.
4. A Modern Backend for WordPress
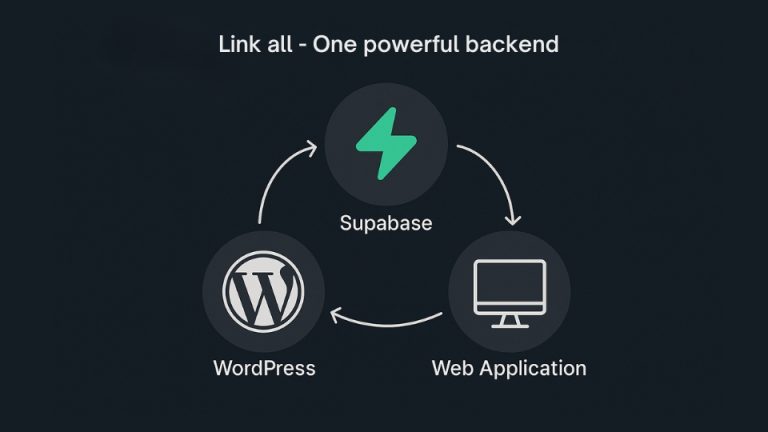
Think of Supabase as backend-as-a-service (BaaS). It provides instant APIs, scalable storage, and authentication out of the box. When paired with WordPress, you extend the CMS into a fully modernized application platform.
How to Integrate Supabase with WordPress Using WP Supa Integration
Step 1: Install and Activate WP Supa Integration Plugin
Download the plugin from wpsupai.com. Once activated, you’ll see a dedicated WP Supa tab in your WordPress dashboard for configuration.
Step 2: Connect Your Supabase Project
Head over to Supabase and create a project. Then copy your project URL and public API key (available in Project Settings → API). Paste these credentials into the WP Supa plugin settings inside WordPress.
You’ll also need to add your JWT secret to secure authentication tokens.
Step 3: Enable Dual Authentication (Optional)
You can allow users to log in to both Supabase and WordPress simultaneously by enabling the “Auto WordPress Login” option. This ensures users only need to sign in once for both systems to stay in sync.
Step 4: Use Shortcodes for Forms
The plugin comes with easy-to-use shortcodes:
[supawp_login]→ for login forms[supawp_signup]→ for registration forms
You can place these shortcodes on any WordPress page or post to display fully functional Supabase-powered forms.
Step 5: Customize Redirects and Security Settings
Set your post-login and logout redirect URLs to control user navigation. Additionally, you can whitelist domains and configure plugin product keys for added security.
Additional Benefits & Use Cases
WooCommerce Integration
Sync WooCommerce users and orders directly with Supabase for a centralized e-commerce data system.
Data-Driven Applications
Build apps (dashboards, LMS platforms, CRMs) where WordPress handles the frontend while Supabase manages data, authentication, and real-time features.
Firebase Alternative
If you’ve used Firebase before, Supabase offers a familiar yet open-source PostgreSQL-based solution that’s more flexible for WordPress developers.
Conclusion
The WP Supa Integration plugin makes connecting WordPress to Supabase easier than ever. With just a few steps, you can add secure authentication, centralized user data, and real-time updates to your WordPress site.
This integration bridges the gap between WordPress’s CMS strength and Supabase’s modern backend power, enabling developers to build next-generation web apps quickly and efficiently.